DIY Sourdough Starter
DIY Sourdough Starter. . .
During our last semester of college, my roommates and I thought of a fun project to try: sourdough starter. All of us enjoyed sourdough bread and making it ourselves sounded like an interesting experiment. The problem was, we didn’t have a starter to build from.
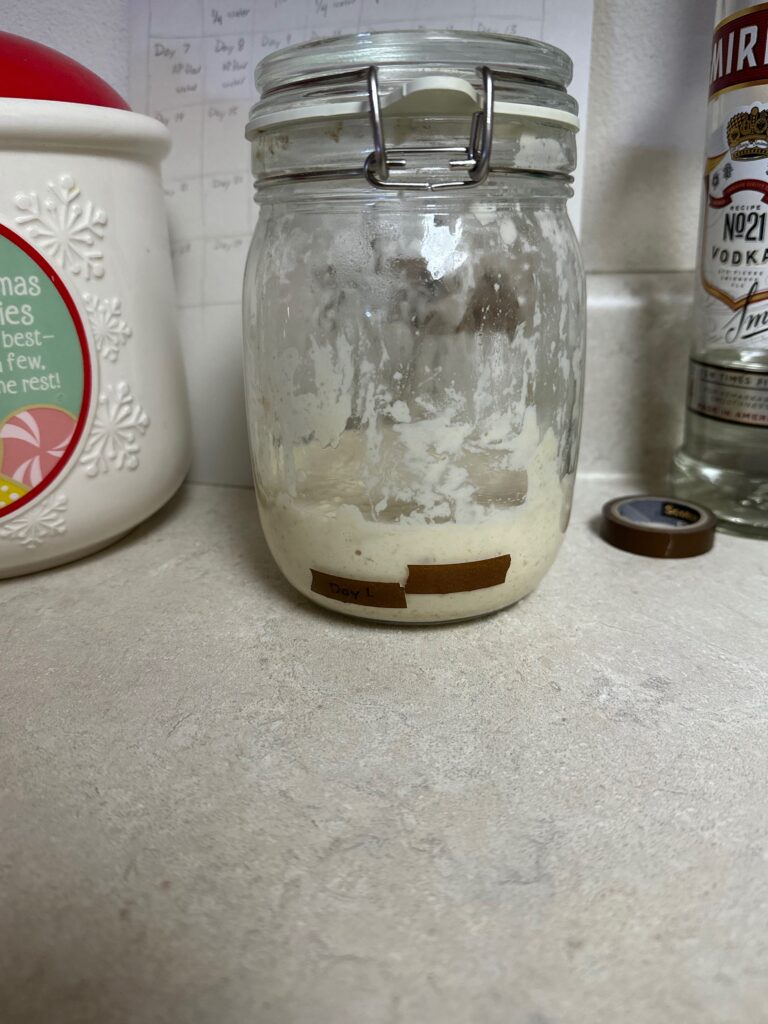
So we grew our own starter! It took us a few tries to make a sourdough starter since they can be so temperamental. Watching it grow each day, feeding it, smelling it, and finding happy bubbles in the starter was all part of the challenge.
All three of us ended up on the sourdough side of social media in about a week after bringing it up. This meant we had plenty of resources to figure this out with plenty of short-form content to watch. This was how we figured out that it was time to throw out our first attempt.
Recipe for Sourdough Starter - Attempt 1
Day 1:
½ cup wheat flour
¼ cup water
mix all thoroughly until is thick like pancake batter
Day 2:
let rest
Day 3:
split dough in half and discard half
½ cup all purpose flour
¼ cup water
mix all thoroughly until is thick like pancake batter
Repeat day 3 until ready to bake

Starter attempt 1 was good at one point but we missed the window and killed it. It became “offensively stinky”. We also left it fully covered and sealed between feedings.
We attempted to cook with it anyway and ended up with a golden brown loaf of playdough. Definitely not what we were going for.
Recipe for Sourdough Starter - Attempt 2

Day 1:
¼ cup wheat flour
2 Tbsp water
mix all thoroughly until is thick like pancake batter
Day 2:
let rest
Day 3:
split dough in half and discard half
¼ cup all purpose flour
2 Tbsp water
mix all thoroughly until is thick like pancake batter
Repeat day 3 until ready to bake
Starter attempt 2 became good after a day of being slightly stinky. The good bubbles appeared and you can see them when you try stretching the dough as you’re mixing it. We performed the float test and the starter passed one week in!
What did we bake with it?
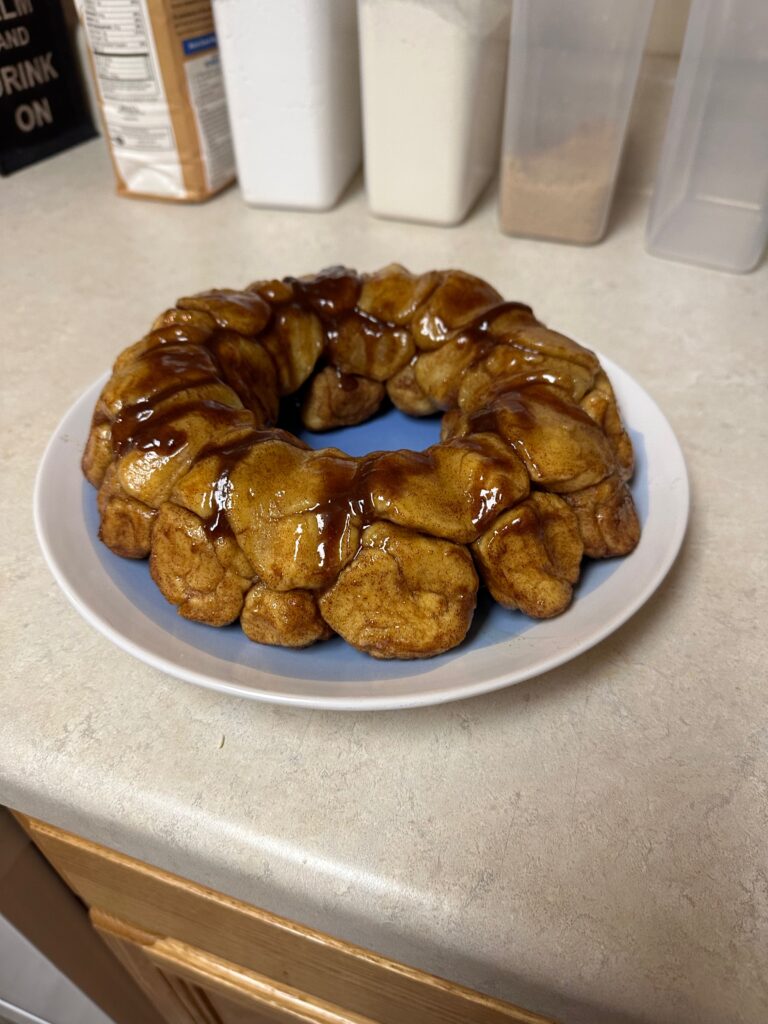
Cinnamon sugar monkey bread
4 cups flour
½ cup starter
¼ cup sugar
⅓ cup butter at room temp
2 eggs
1 ½ cup milk warmed
30-40 mins in the oven
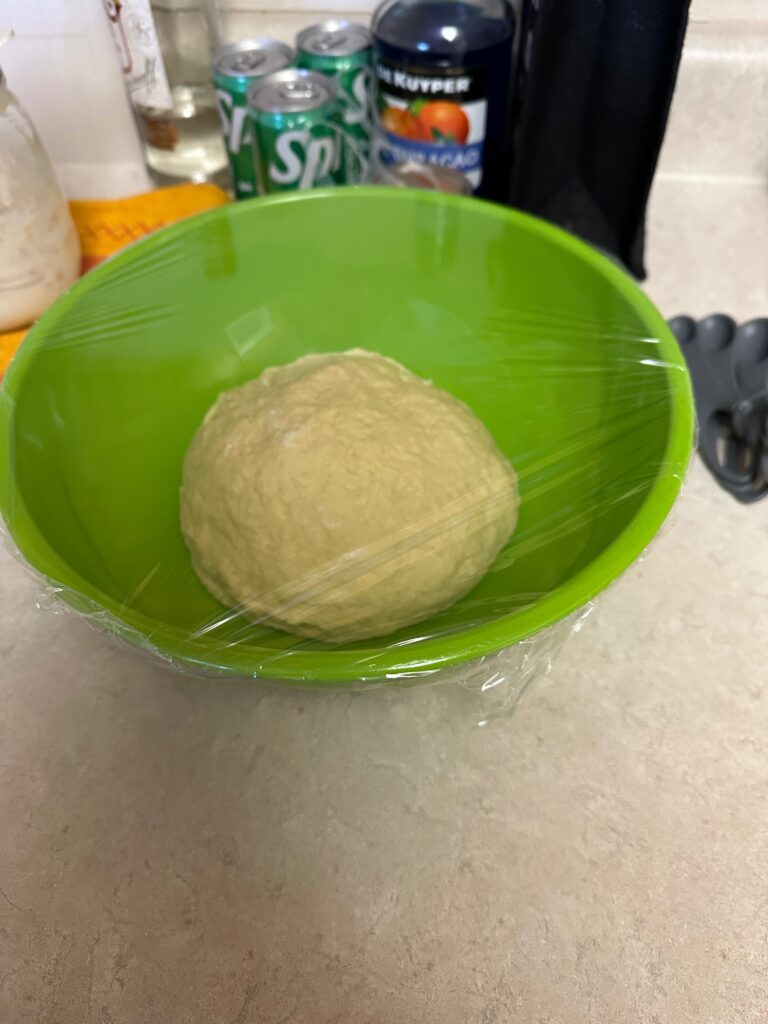
We should have let the bread rise longer as our starter had been in the fridge for about a week before we used it to bake. This meant our starter was not as active as it should have been. We could have let it go through more feeding or have more time outside the fridge before using it to avoid this. We also could have let the dough rise for almost a full day so it could double in size.

When we baked it, we could have let the bread cook a bit longer as some of the bottom pieces still seemed damp-ish. This could have also been from the sauce poured on top of the bread when we put it in the oven.
The experience
The sourdough feeding and splitting experience was a team effort all the way through. For a while at the beginning, we would all be crowded around the jar watching one of us split the dough. Later on as we got busy through the semester and our activities/evenings became busier, it turned into one of us doing it.
We had a schedule we worked through so that the sourdough would be fed in the evenings when it wasn’t in the fridge for a week at a time. There was an agreement that someone would be home to manage the dough and make sure it was split, fed, mixed, and put back in the corner to settle overnight before going in the fridge or getting used for baking.
Now that we are all living in new apartments away from each other, we all have separate starters. All of ours came from the same original one, we just split it into two starters instead of discarding. It will be fun to see how our individual starters develop differently based on their living conditions.
As for mine, it is going to have to figure out living in a normally 67-69 degree apartment. This will probably mean that when it comes to letting the dough rise, either I’ll need to have a light on it or Will is going to give up the colder temperatures of the apartment. My other roommates both live at warmer temperatures so they might have an easier time with dough rising.
At the same time, Will’s mother has been doing her own sourdough experience. This is helpful to me because she had an actual class when she got her premade starter. This way I have good instructions from professional bakers that taught her class and any recipes she tries. I have not tried baking in the new apartment yet nor with any new recipes but I am excited to try her basic bread recipe. That will have to wait until I am prepared to spend a good chunk of my day working on the dough and taking care of it until it is ready to bake.
The frustrating thing I find with sourdough is that it can be so temperamental and requires a good bit of attention before you can make anything with it. Baking day is a bit of a pain when a lot of what you are doing is prepping the dough so it can rise a couple times before you actually can bake with it. The reward is amazing though, when you are left with a loaf of amazing sourdough bread or a dessert type. Sourdough takes time and patience. When it comes to the recipes, it might take a few tries to get them just right and have your bread be light and fluffy with all the “happy bubbles” that are a signature characteristic of sourdough bread.
Happy baking!
